Groups
The Group feature helps you to assign a quiz, content or survey to multiple users at the same time. Consider creating a group when you have to send quizzes or content or surveys to the same group of people multiple times, for example, before a training session.
How to create groups?
If you have the Editor access, you will be able to create a Group and use it.
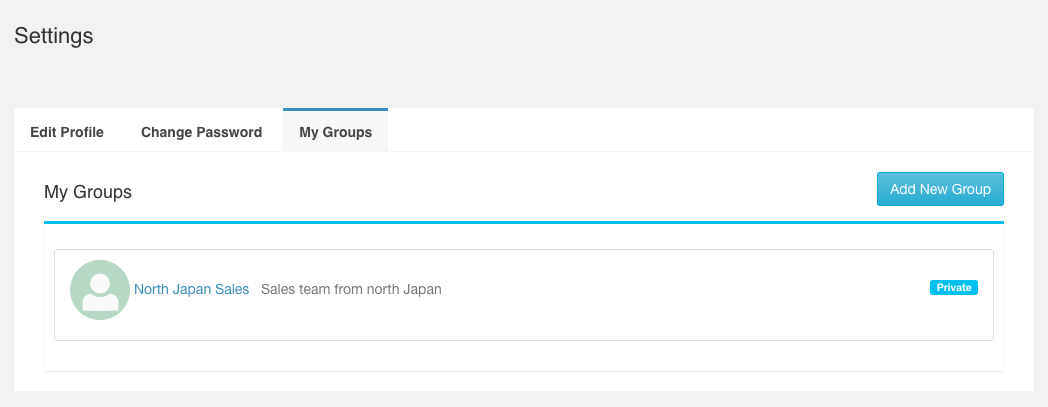
You can create a Group from your Profile page.

Click on Add New Group button . Add a name and description to the new group and select whether you would like the Group to be Public or Private. A Public group will be visible to all and other Editors will also be able to reuse it, while a Private group will be visible only to you.
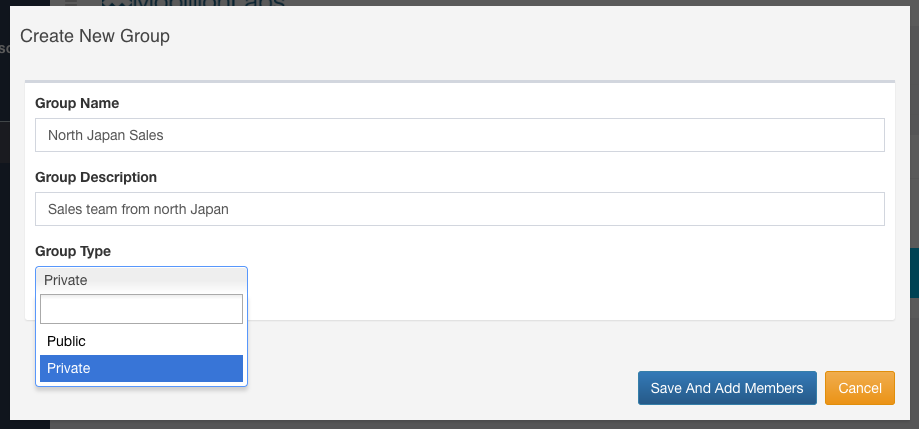
After making the selection, click on Save and Add Members button.
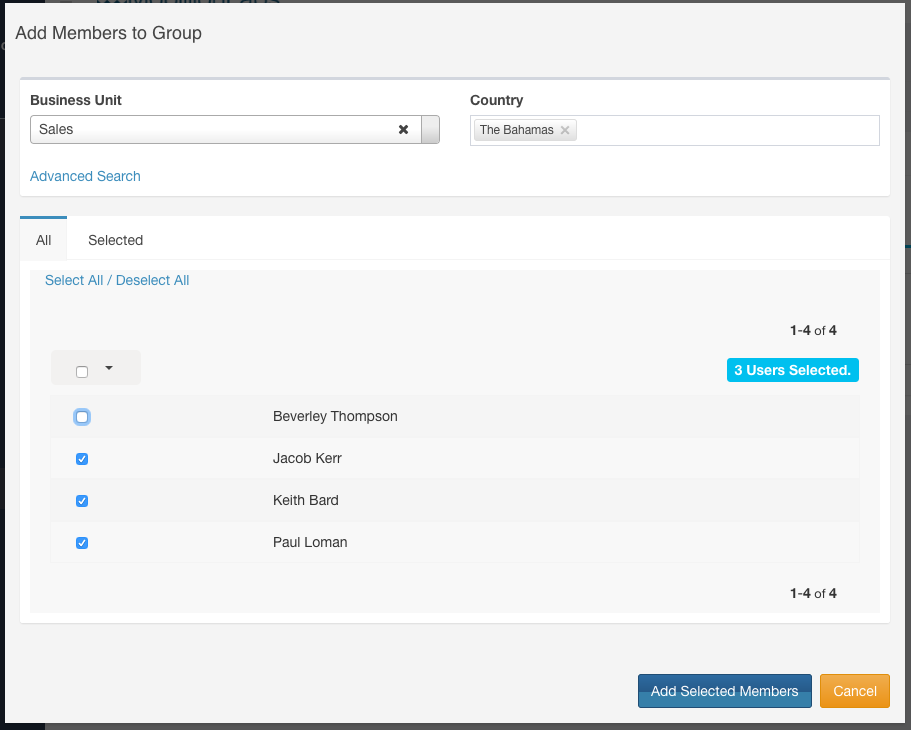
Now add members to this new group. You can select members through the Search/Advanced Search given in the selection screen. Once you have made the necessary selections, click on Add Selected Members button at the bottom of the screen.
This will add the new Group. All of your Groups will be visible in the Settings page.
Sending Quizzes, Surveys and Content using Groups
You can send Quizzes, Surveys, and Content to a pre-defined set of people through Groups.
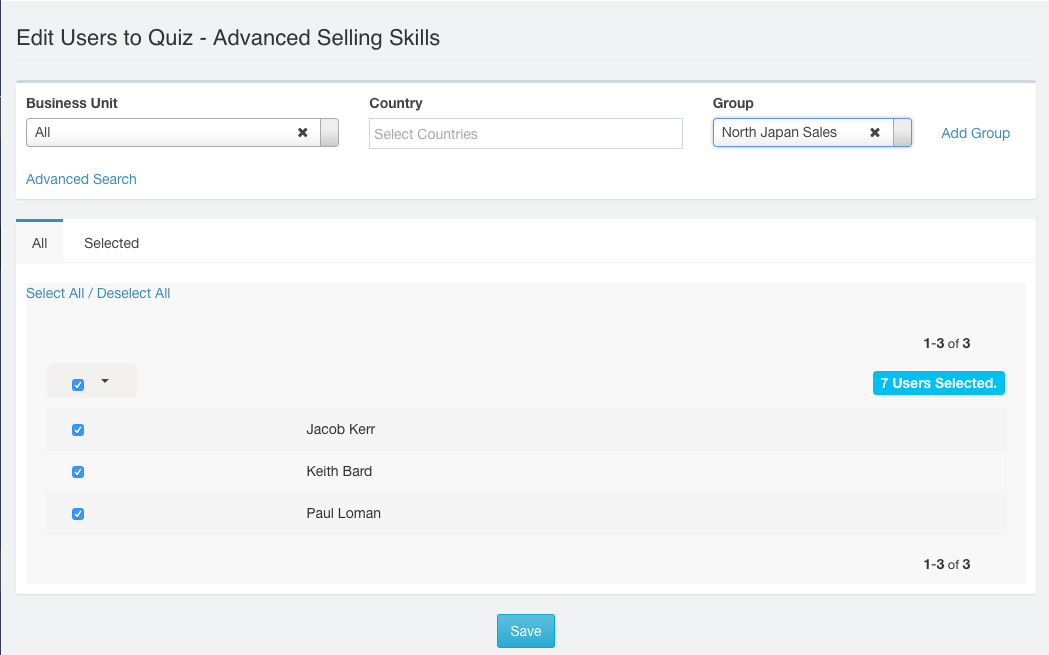
When you are selecting the people to whom you want to send the quiz to, select the Group. Follow the screenshot below.
The Add Group link enables you to add a Group in case you don’t have the Group added from before. Once you select the Group, the list of people in the lower section of the page will reflect with the people who have been added to the Group. Next, select the people from the list and click on Save button. The quiz has now been sent to this group.
Info : The same process applies to Surveys and Contents too.